I love these Ikea Lack tables. There are so many fun Ikea hack ideas out there using these tables. Today I'm going to show you how to turn one into an ottoman.
Supplies:
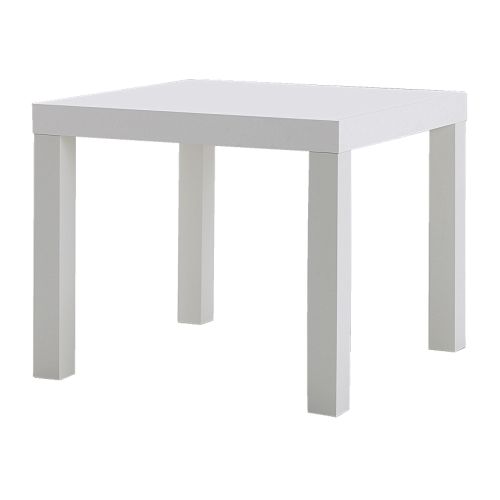
Ikea Lack side table-
Foam
Batting
Muslin
Fabric
Button Kit
Wax Thread
Upholstery Needle
Staples
Staple Gun
Nailhead Trim
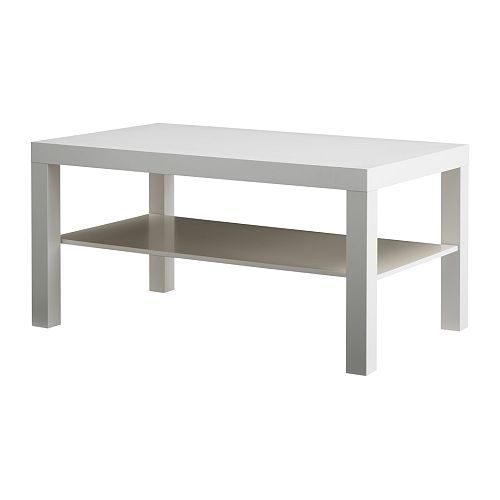
( I used the side table but you could also make an ottoman out of the coffee table)
Nailhead Trim
( I used the side table but you could also make an ottoman out of the coffee table)
.jpg)
.jpg)
Measure and drill holes on the top piece
This is all determined by how many button tufts you want on the finished product.

Attach the foam with spray adhesive. I sprayed the table top and the bottom of the foam.

Then I cut the excess foam off. The next time I do this project I will measure and cut the foam before adhering it by placing the table top on the foam. Then outlining it with a pen and then cut the foam and attach it with adhesive

Stick a long upholstery needle through the back holes to the front and mark where the needle comes through.


You will cut out the foam where the needle came through. This will make the tufting process much easier.

Cover with batting. Depending on how thick the batting is you might want to double it up. Then staple away. Fold the corners and make sure to cut away any excess batting to keep the corner from looking bulky.


Do the exact same thing with muslin. The batting and muslin will give it a more structured, finished look.


Then you will cover it with the fabric of your choice. I would recommend an upholstery fabric.

Here is an example of how to fold the corners.

Then string the upholstery needle with the wax thread and tie a button on the end. Pull the needle through the back to the front.


Put the covered button on and push the needle through the front to the back.

Thread the needle through the button on the back.

Push the button on the front in and pull the thread tight in the back. Then tie two square knots.

Repeat that same process for the rest of the buttons.

The last thing I did was the nailhead trim. I used the strips from Joann Fabrics. You only nail in like every 6th one which makes it lots easier. I love the finished look you get with the nailhead.

Then cut away all the excess fabric on the back and attach the legs.

.jpg)
.jpg)
.jpg)
.jpg)
.jpg)
.jpg)
.jpg)
.jpg)
.jpg)
.jpg)
.jpg)
.jpg)
.jpg)


.jpg)
.jpg)
.jpg)
.jpg)
.jpg)
.jpg)
.jpg)
.jpg)
.jpg)
.jpg)
.jpg)
.jpg)
.jpg)